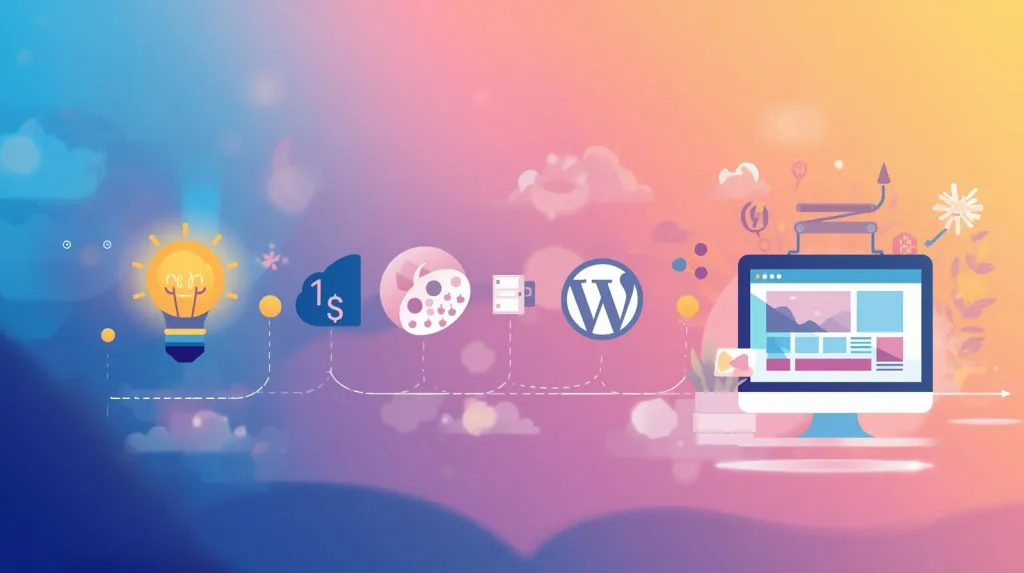
Ever dreamed of having your own space online? Whether for a business, a blog, a portfolio, or just sharing your passion, creating a website is more accessible than ever. It doesn't require you to be a coding genius! This guide breaks down the process into 7 manageable steps to take your website idea from concept to launch.
Step 1: Define Your Goal and Audience
Why do you want a website? What do you want it to achieve? (e.g., sell products, share information, attract clients, build a community). Who are you trying to reach? Understanding your purpose and target audience is the crucial first step. It will shape your content, design, and platform choices.
Step 2: Choose Your Website Building Platform
This is the foundation of your site. Here are the main options:
- Content Management System (CMS) like WordPress.org:** Highly flexible, powerful, and scalable. You have full control but need separate hosting. Excellent for blogs, business sites, portfolios, and more. **(Recommended for long-term flexibility)**
Website Builders:** Platforms like Wix, Squarespace, Shopify (for e-commerce), or Hostinger's Website Builder offer drag-and-drop simplicity. Often easier initially but can be less customizable or have higher long-term costs. Good for very simple sites or specific purposes like online stores (Shopify).Coding from Scratch:** For developers who want complete control (HTML, CSS, JavaScript, PHP etc.). Not recommended for beginners just wanting to get online quickly.
For most users wanting flexibility and scalability, **WordPress.org** is the top choice, requiring separate web hosting.
Step 3: Pick and Register a Domain Name
Your domain is your website's address (like `YourWebsiteName.com`).
- Make it memorable, easy to spell, and relevant to your site's topic.
- Prefer `.com` if possible, but other extensions work too.
- Check availability using a domain registrar or your hosting provider.
- Register the domain name (usually for 1 year or more).
Tip:** Many hosting plans offer a free domain name for the first year, which can save you money initially.
Step 4: Select Reliable Web Hosting
Web hosting is the service that stores your website files and makes them accessible online. For beginners using platforms like WordPress, **Shared Hosting** is typically the best starting point – it's affordable and easy to manage.
Get Online Easily with Hostinger
Choosing the right host is vital. We recommend Hostinger for beginners because they make getting started straightforward and affordable.
- ✅ **Budget-Friendly:** Great prices, especially for long-term plans.
- ✅ **Simple Control Panel:** Their custom hPanel is intuitive for managing your site.
- ✅ **Fast Performance:** Uses modern technology like LiteSpeed servers.
- ✅ **Includes Essentials:** Get a FREE Domain and FREE SSL Certificate with most annual plans!
Hostinger simplifies the technical side so you can focus on building your website.
[cite_start]
Ensure your chosen host meets the requirements of your platform (e.g., PHP and MySQL versions for WordPress [cite: 1517-1519]) and offers good support.
(Optional: Compare different types of hosting here)
Step 5: Set Up Your Platform (Install WordPress)
If you chose WordPress and a host like Hostinger, installation is usually very simple:
- Log in to your hosting control panel (hPanel).
- Look for the "Auto Installer" or "WordPress" installer.
- Follow the simple on-screen instructions: select your domain, set an admin username/password, and click "Install".
- Your host will handle the database setup and file installation automatically.
You'll then receive your WordPress login URL (usually `yourdomain.com/wp-admin`).
Step 6: Design Your Website (Choose a Theme)
Your theme controls the look and feel of your site. WordPress has a vast library of free and paid themes.
- In your WordPress dashboard, go to "Appearance" -> "Themes" -> "Add New".
- Browse or search for themes based on your niche or desired style.
- Install and "Activate" your chosen theme.
- Use the "Customize" option to tweak colors, fonts, layouts, add your logo, etc.
Start with a simple, well-reviewed theme. You can always change it later.
Step 7: Add Content and Launch!
Now for the fun part – adding your content!
- Create Core Pages:** Start with essential pages like Homepage, About, Contact.
Add Your Content:** Write blog posts, add portfolio items, list products – whatever your site's purpose is. Focus on quality and providing value to your audience.Basic Settings:** Configure permalinks (Settings -> Permalinks -> Post name), site title, and tagline (Settings -> General).Navigation Menu:** Create your main navigation menu under Appearance -> Menus.Launch:** Once you have the basics in place, remove any "coming soon" pages and announce your site!
Building your first website is an exciting journey! By following these steps – planning, choosing your platform, securing a domain and reliable hosting like Hostinger, installing your software, designing, and adding content – you can successfully launch your online presence. Don't aim for perfection right away; get started, learn as you go, and enjoy the process!
Ready to take the first step? Find the perfect hosting plan at Hostinger.


